Takuan-style Pickled Daikon Radish with Turmeric
If you have ever had a sushi roll you may have noticed a bright, almost neon yellow colored component in the roll. It is “takuan”, the Japanese term for lacto-fermented daikon radish, which we grow, that has been pickled with a number of different ingredients, in particular, persimmon peels, which is what gives takuan it’s most noticeable characteristic, color.
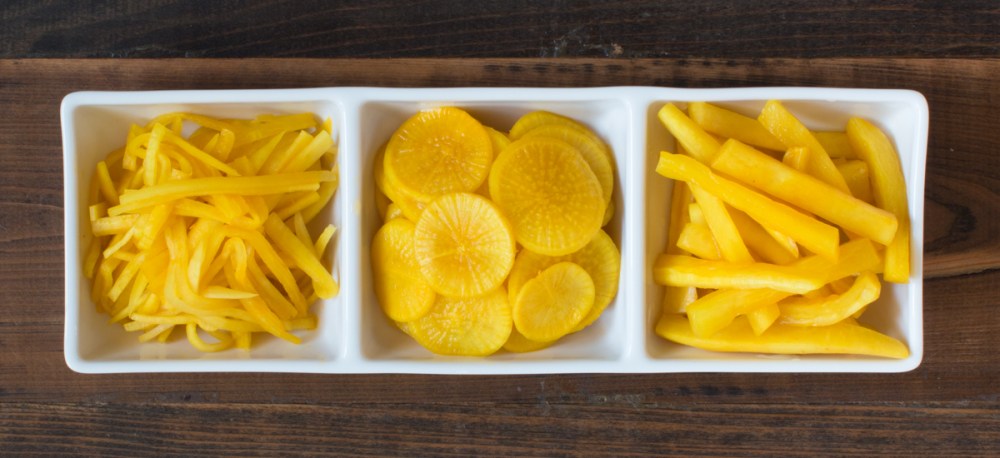
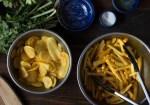
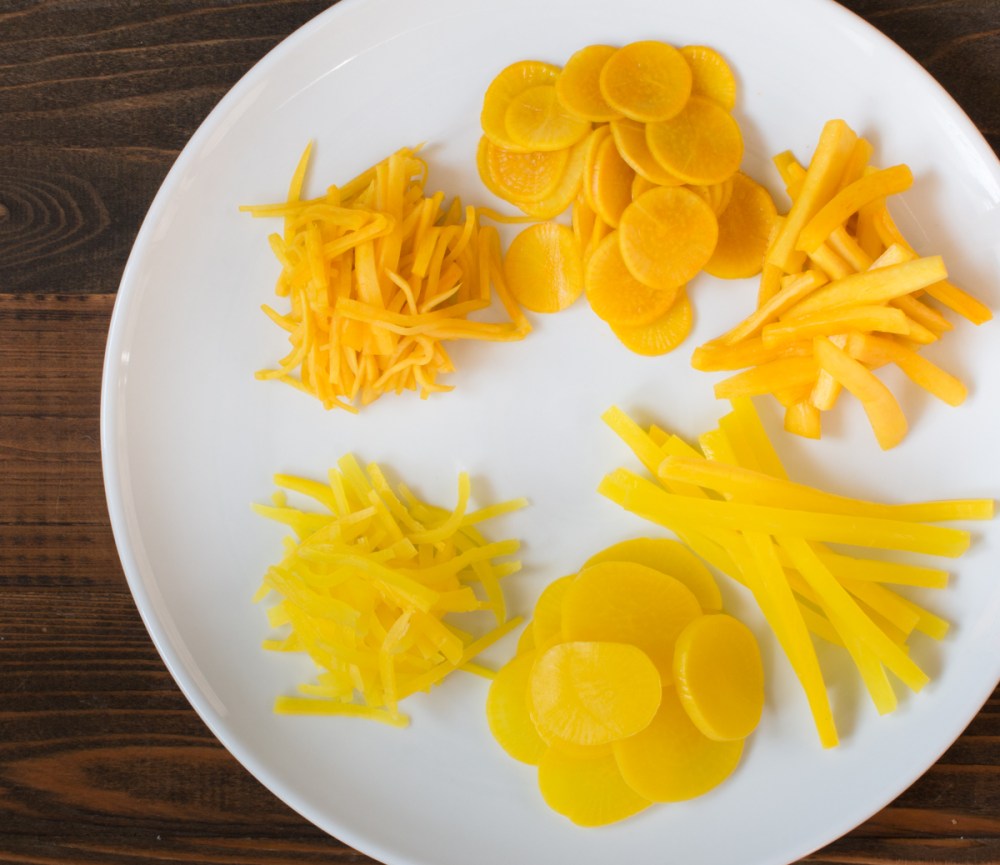
The photo below is of commercially produced takuan, available at most Asian food markets. It usually comes whole and may be cut several different ways depending on how it is to be used. The photo below shows the three most popular; julienned (top center of plate at left in the photo below) for salads or slaw, sliced rounds for sandwiches or eating out of hand, or long battonets (sticks) for sushi rolls.

The original and authentic process takes several months and includes first drying the daikon radish for several weeks until they are dehydrated and pliable. They are then combined with several ingredients and lacto-fermented for several months.
While we have fermented foods for that long we wanted to shorten the time for this particular food to just a couple of months if not weeks. To get the same color or at least a close approximation of authentic takuan, we use turmeric.
INGREDIENTS

- 1 bunch or 3 large daikon radishes
- 3 tbsp dried turmeric powder or 5 tbsp grated fresh turmeric
- 4 tbsp kosher salt
- Distilled water
- Time…lots of time!
DIRECTIONS
Preparation: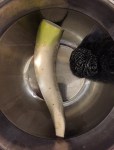

Procedure:
- Wash all containers and tools really well in hot soapy water, rinse with hot water, and allow to air dry.
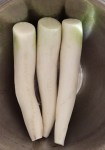
- If you have daikon radish with greens cut off the greens and reserve. These may also be lacto-fermented (see Extra! below).
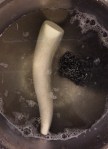
- Using a new stainless steel wire sponge rub the thin skin of the daikon radish (see above photos), wash, dry.
- Using a mandolin with thin julienne or slicing blades, slice the daikon for how you intend to use them.
- Long flat cuts for sandwiches or eating out of hand.
- Tip!: If you want julienned cuts but do not have a mandolin make these long flat cuts, process them like the rounds or sticks; they will be easier to handle this way. Remove them from the rest after the fermentation period is over, then julienne them with a chef’s knife and store them separately as they will be easier to retrieve and serve.
- Thin rounds for eating out of hand or for sandwiches as well.
- Long battonets or sticks (1/4 to 1/2 inch width/height and around six inches long)
- Long flat cuts for sandwiches or eating out of hand.
- Place the sliced daikon into a large mixing bowl, sprinkle the salt and turmeric powder, mix well with gloved or very clean hands.
- You may use tongs but we find that mixing with our hands allows to really work the salt and turmeric all over the sliced daikon.
- Cover with plastic wrap, press the plastic wrap onto the top of the sliced daikon; press firmly to remove as much air from the mixture, cover the bowl with a clean cloth kitchen towel.
Lacto-fermentation:
- Note: The following steps should be done at room temps between 60F and 70F, so a cool, dark place like a cupboard is preferable. Any lower and the fermentation slows to a crawl, stops altogether, or never begins. Any higher and the fermentation speeds up, not giving enough time to develop the sour or tangy flavor common to lacto-fermented foods.
- Day 1 through 3:
- Twice a day remove the plastic wrap, turn the mixture over several times with tongs, cover with plastic wrap once again, press down firmly to remove any air, place a heavy plate or saucer on top of the plastic wrap, cover the bowl with the cloth towel.
- Day 4:
- Remove the mixture from the bowl and place in half-gallon or quart glass jars, pour any liquid from the bowl into the new container with the mixture.
- Press the mixture down with a potato masher or gloved hands, pour enough distilled water to reach the top of the mixture, cover with plastic wrap once again, press down firmly to remove any air, cover the jar with a lid (but lightly) or a cloth towel.
- Place the jars inside a shallow pan and in cool place in the kitchen.
- Note: As the fermentation begins and continues the contents of the jar will begin to bubble and may result in some of the liquid going over the top of the jar so placing the jars inside a shallow pan will keep you from having a wet mess on the countertop or in a cupboard.
- Day 5-7:
- Inspect the mixture once a day to make sure that the brine is still at the top level of the mixture. If not add more distilled water.
- Day 8 to ?: (We stop ours on day 10)
- The mixture should begin developing the sour, pickled flavor we love. At this point, you may begin tasting the takuan, continue the fermentation until you reach the level of sourness you prefer.
- When you have reached the flavor you prefer remove the plastic wrap over the mixture, cover tightly and place in the fridge to age and mellow, albeit slowly, for at least 4 weeks. May be stored in the fridge for up to 6 months but ours never lasts that long!
- Your takuan-style daikon radish is ready!
- Day 1 through 3:

In the photo below we compare the takuan from this recipe (on top) and commercially available takuan (on the bottom).
Extra!
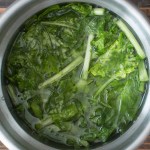
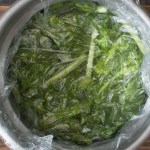
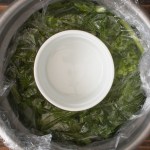
As noted above the fresh daikon radish greens may also be lacto-fermented. We use the same process as the sliced daikon but do not use turmeric.
- Remove and discard any discolored leaves and stems, triple was the greens, slice into 1 to 2 inch segments, place in a very clean stainless steel bowl, sprinkle with 2 tbsp kosher salt, mix well, cover with plastic wrap, press down on the plastic wrap to remove any excess air, cover the bowl with a clean kitchen towel.
- Follow the above steps from Day 1 to 8
ENJOY!
Takuan-style Pickled Daikon Radish with Turmeric
This is work done for Worden Farm’s new blog, http://www.wordenfarmtotable.com. Reposted with their permission.
